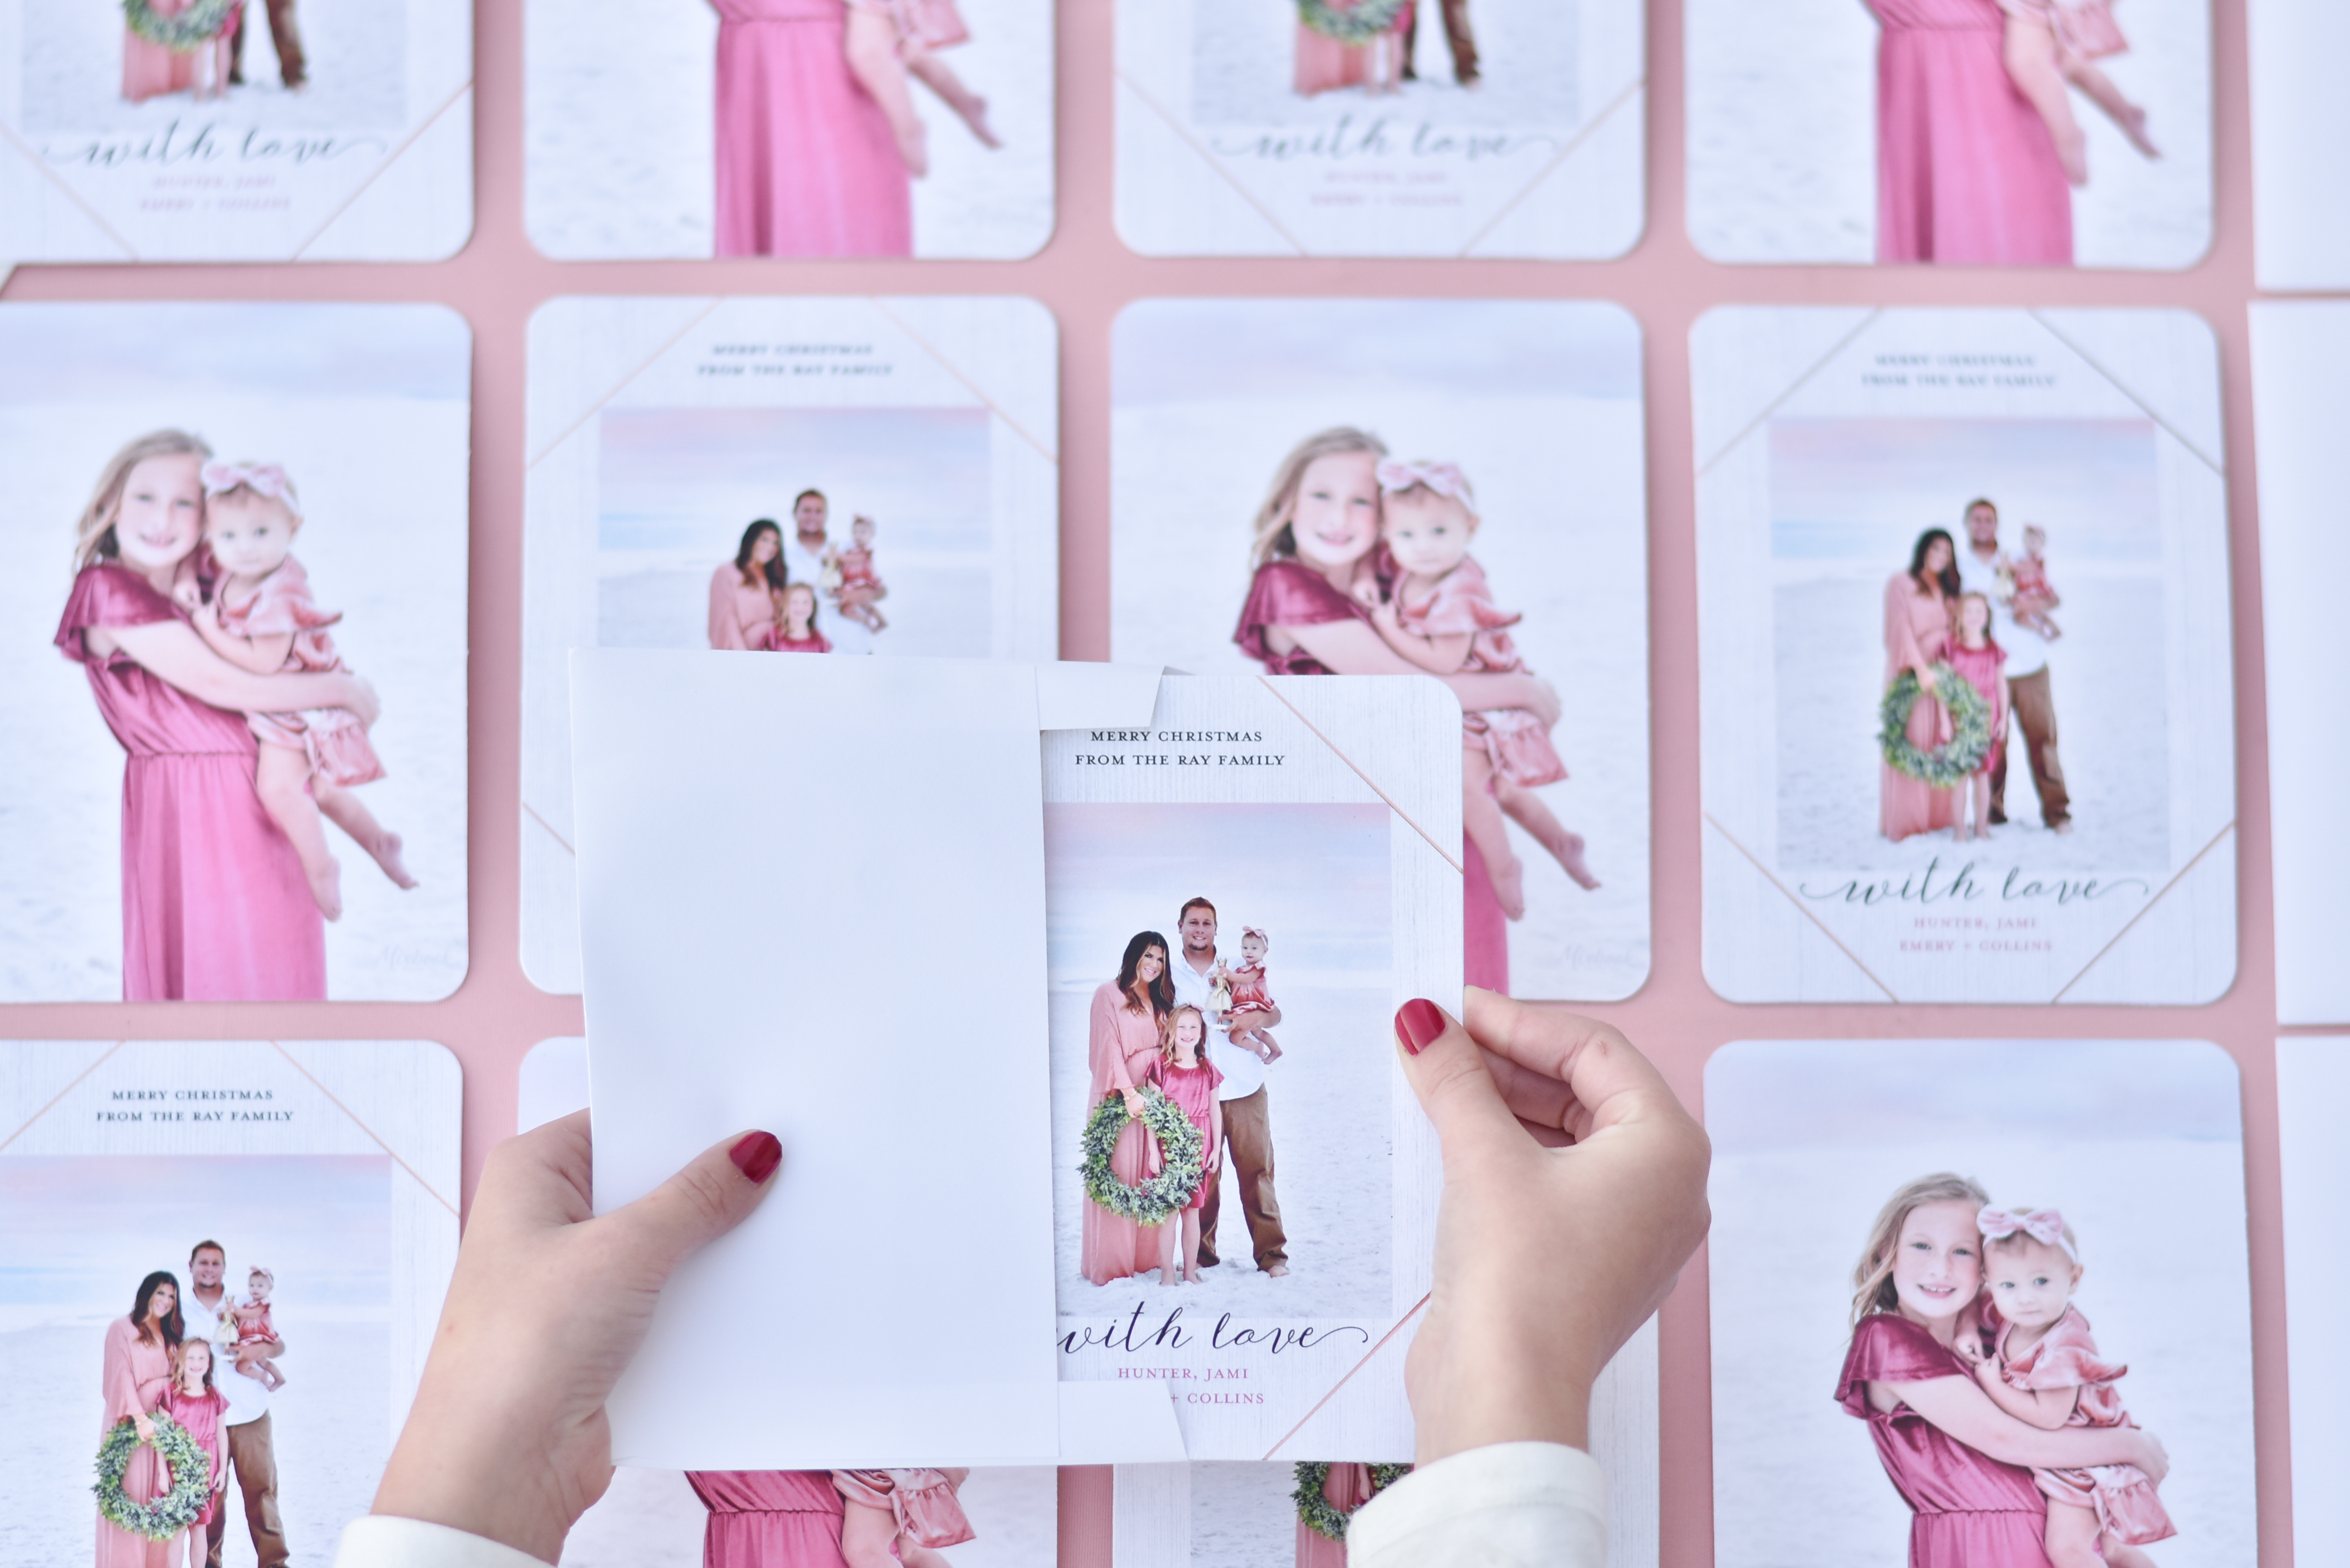
Thank you to Mixbook for sponsoring this post and to all of you readers for enjoying the brands I love.
I didn’t realize how much I enjoy the annual Christmas card tradition until we didn’t send one last year. Collins had just arrived and I was in full newborn mom mode of sleep-wake-feed-change-repeat. This year with our newly minted one year old, I had no reason to miss this fun task. In this post, I’m sharing a little more about this year’s card with Mixbook and a few tips to make the most of your own.
Why Mixbook
First, let me introduce you to Mixbook Photo Co if you haven’t met yet. This is a go-to destination for all things photo from prints, canvases, photo books, calendars, cards, invites and more. They offer an incredible selection of printed goods and gifts that instantly brighten the day and add some much-needed sentiment in today’s digital world.
When I browsed the Christmas card options, I instantly loved so many designs. I would usually go for a big metallic script wishing “Merry Christmas” or “joy to the world” and there are plenty of gorgeous styles to choose from if you love that look like I do. Having that real foil detail is so festive and it always looks pretty arriving in the mail.
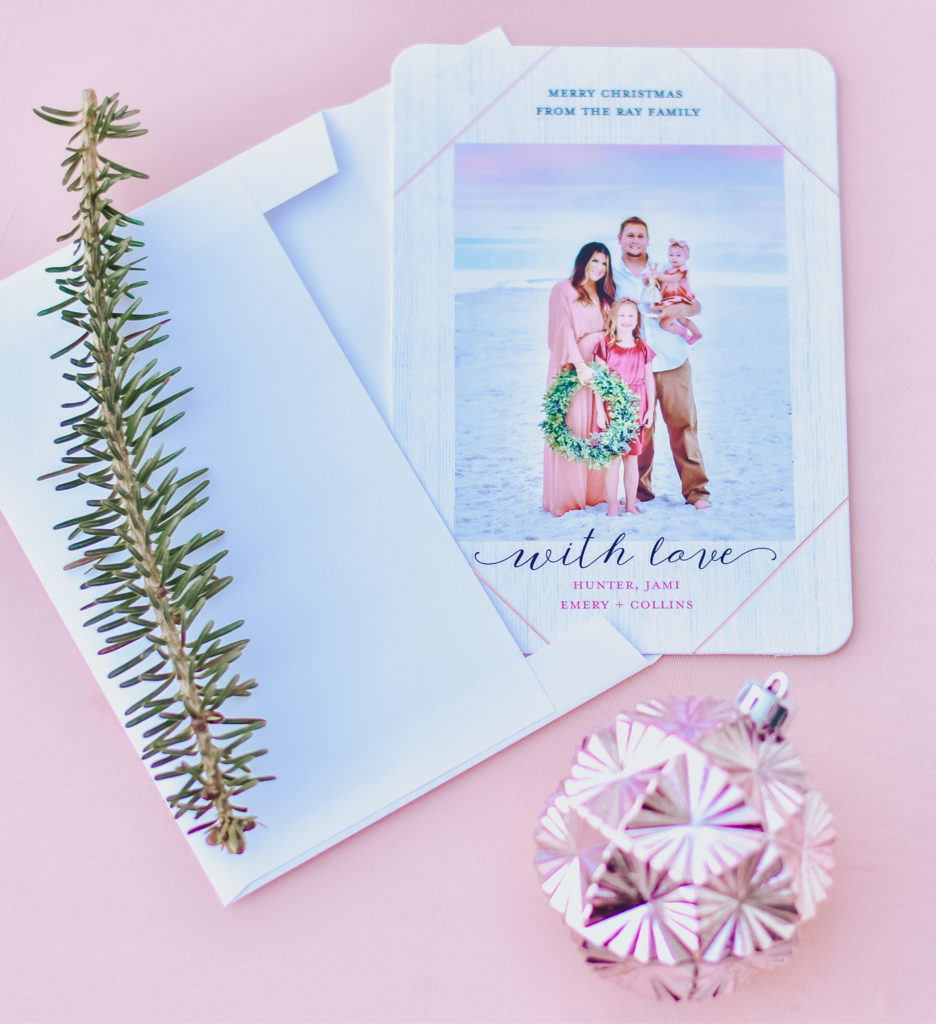
This year, I felt a more simple aesthetic was in order. (That seems to be a theme I’m tackling in all aspects lately, so it was fitting here, too.) We had taken these beautiful family photos on the beach in Seagrove and I really wanted the images to be the centerpiece. I found the perfect design with a chic white-washed wood background and sleek metallic details. I picked, rose gold to coordinate with the tones of the photos.
Honestly, I could spend hours tinkering with font options and exact placements because I really enjoy that part of design. With Mixbook, you have the option to do that if you’re into like me, but they also take any guesswork out with their ready-made templates if you want to add photos and go. Personally, I love that I can move the image within a photo block for just the right placement and play around with the placement of the text. Whichever type of card orderer you are, you can go that route with the user-friendly site, which is a major plus.
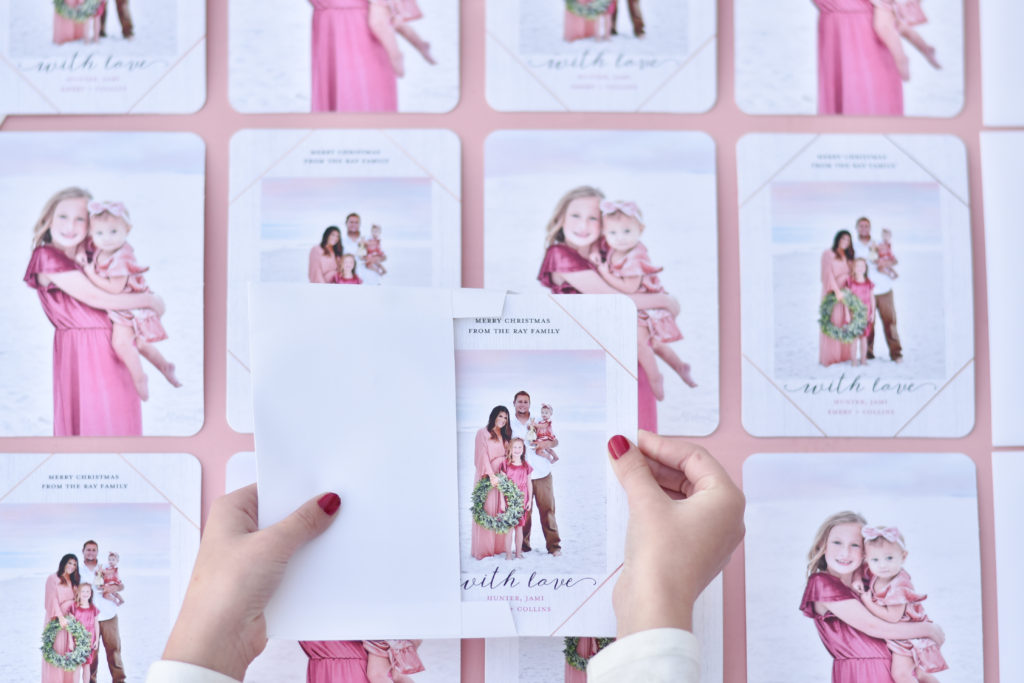
For the edge finishes, I really wanted to pump up the details since my card design was simple. Instead of square edges, I selected rounded corners, though you can also square, rounded, double rounded, ticket, crest and vintage crest trim.
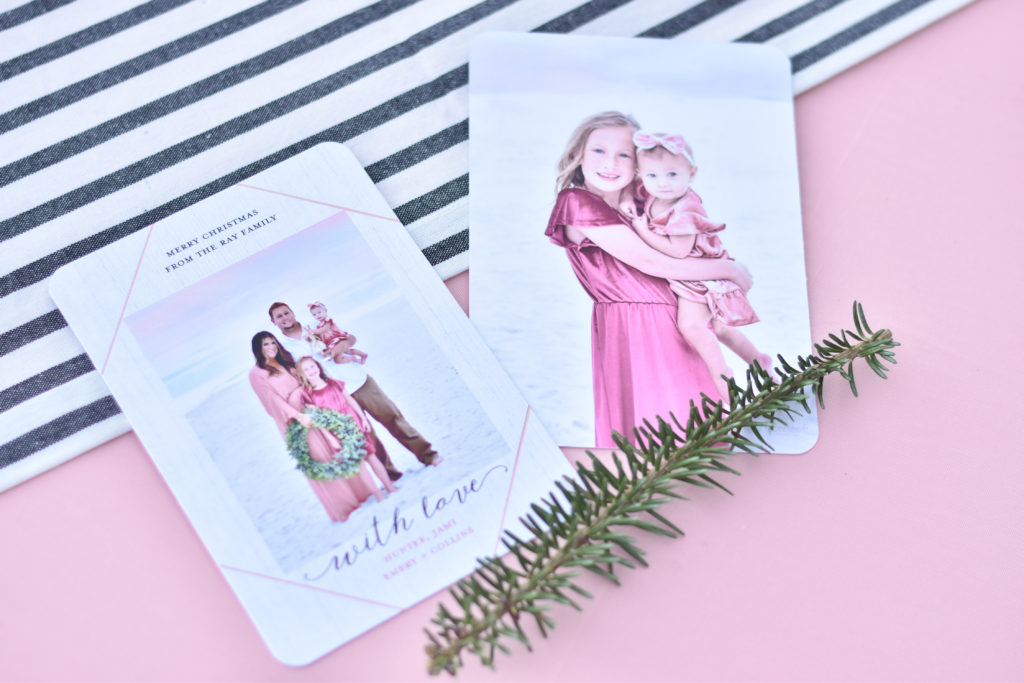
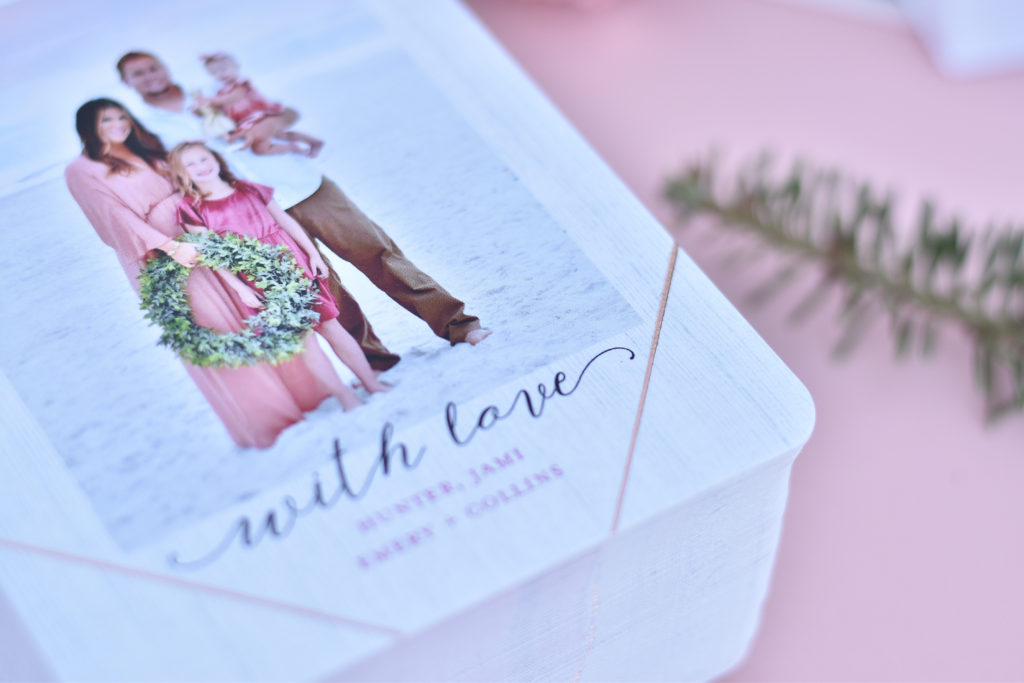
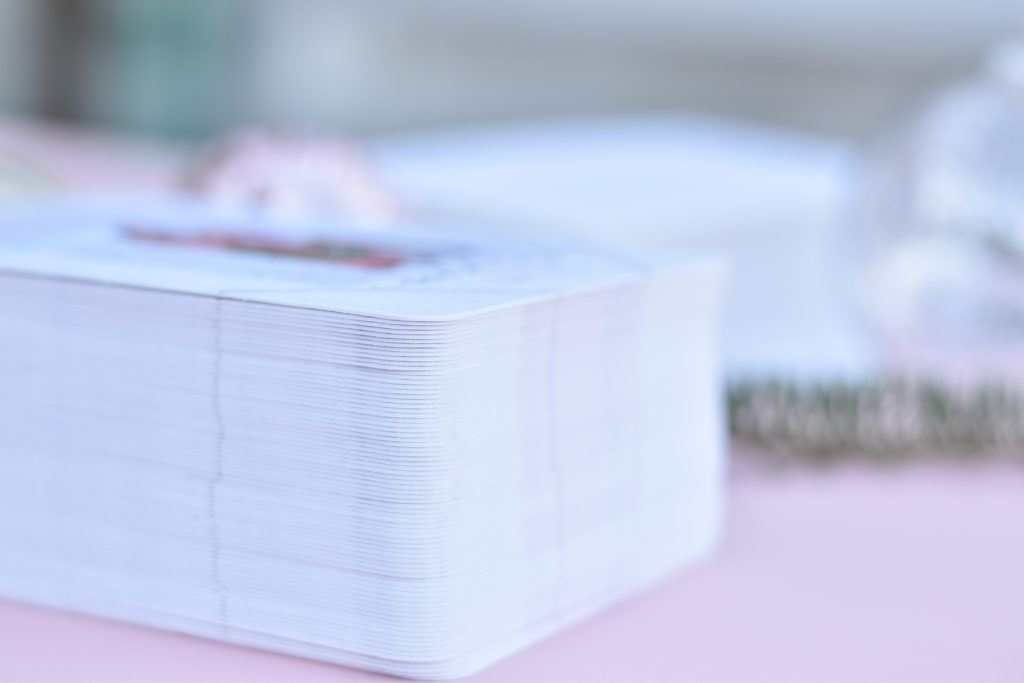
For the paper stock, there are 6 different options depending on your preference and budget with everything from satin to matte, pearl to cotton and even an ultra-thick luxe board card stock with a matte finish for the most special occasions. I went with the luxe board and absolutely love how thick and luxurious it looks and feels.
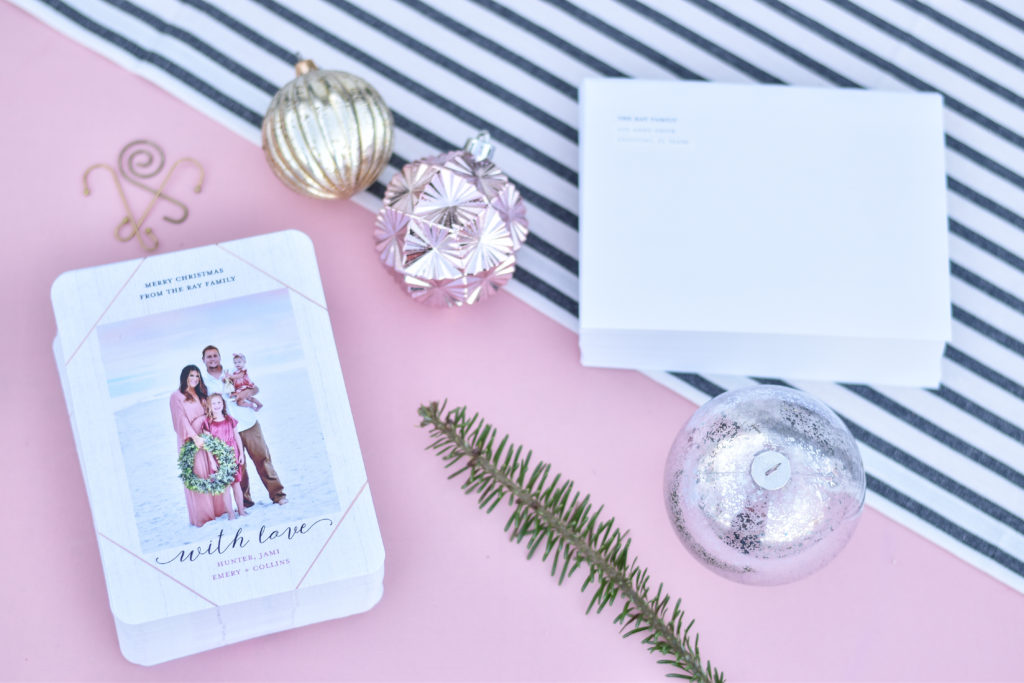
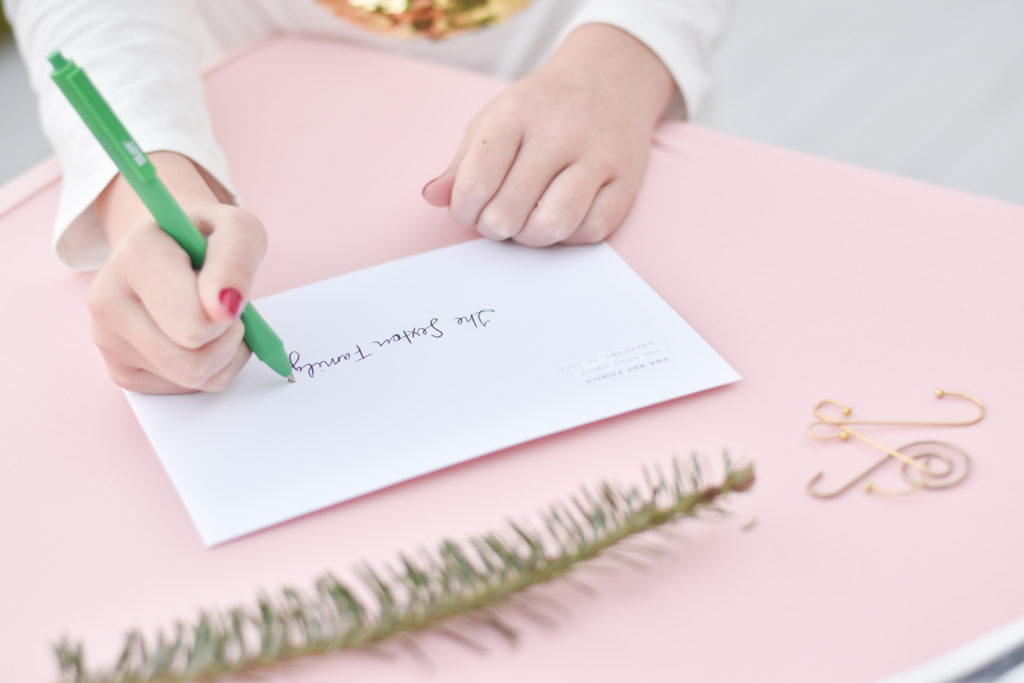
I like to handwrite addresses and have Emery join me in addressing our cards, but if you have all your recipients in a spreadsheet (goals!!), let Mixbook do the work for you. You can upload your file and have all your envelopes printed with recipient addresses so they’re ready to stamp and mail with a snap.
Plus, you can still order from Mixbook and receive in time for Christmas!
Christmas Card Tips
If you’re one of those mamas who feel overwhelmed at the thought of doing cards because the photo taking and design seems like too much to take on, have no fear. Here are some of my tried and true tips for making this an easy and fun tradition, some you can start this year and some to save for next year:
Set a reminder to snap a photo in November.
Even if you “snooze” this a few weeks, you won’t feel rushed to do this in December when there are so many other holiday activities to enjoy. Bonus: plan a family photo op during a summer vacay or family get together earlier in the year!
Think of a cute location.
Of course we love the beach and I wanted a really bright, soft backdrop on 30A, so we shot at sunrise when almost no one was around. There are tons of ideas around your town or around your house: your bed, your front porch, your favorite park, an iconic landmark.
Lighting and timing are key.
I typically want the brightest yet softest light so there isn’t much need for editing or brightening. That means I shoot at sunrise, sunset, in full shade or on overcast days. I also don’t want a ton of random people dotting the background, so I choose the least busy time at that location. I will say, there’s something so satisfying about getting up and out the door to shoot and finish by the time most people are just getting out and about.
Coordinate outfits but don’t match.
Consider the overall palette for the photo (like the rusty pink, blush and white I used) and select clothing for each person using one or two colors for each individual so that no one is wearing all colors and no one is too matchy matchy with the other. That way if you do kid or parent spinoff photos, they all work well with a smaller group.
Try a mix of candid and posed.
It’s funny as I write this that both shots I chose are of us looking at the camera, but typically I like a mix of eye contact and organic fun. Tell the kids to hug each other, play in a circle (like ring around the rosey), run toward you or even tickle each other. Take a bunch and pick your favorite.
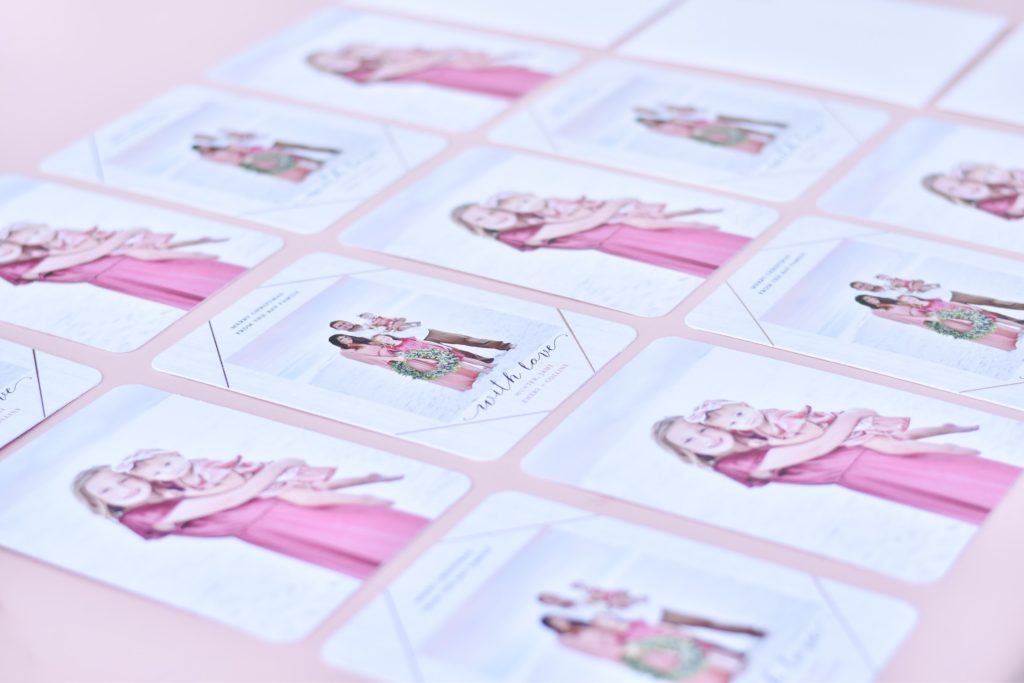
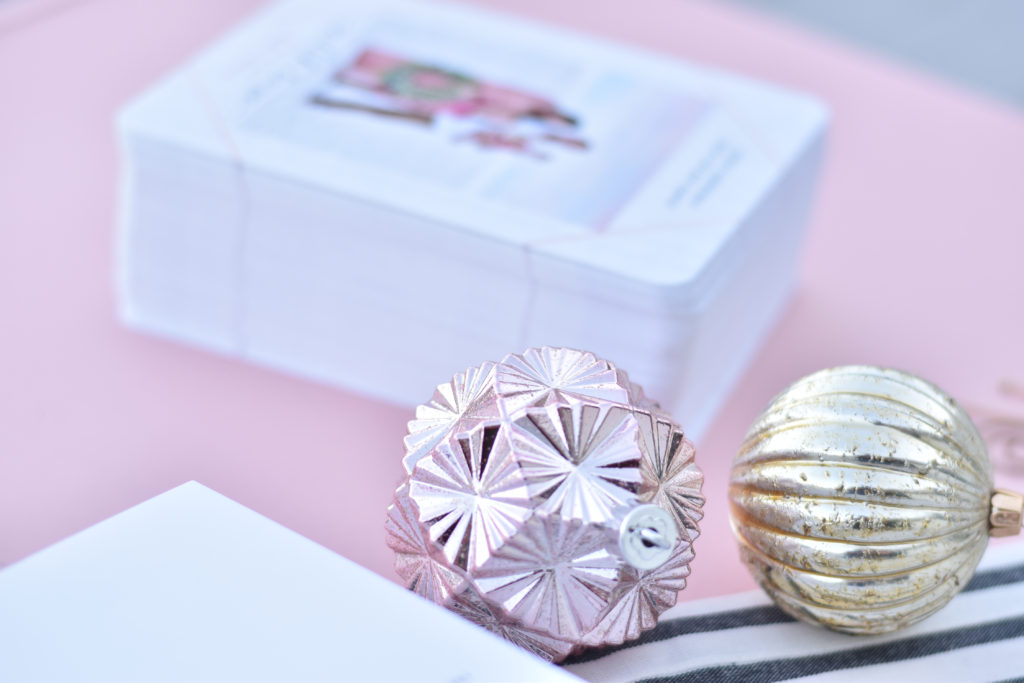
I love the simple, beautiful design of the card I selected, but I’ll admit it was hard to pick just one. Browse Mixbook to find just the right card for your family this season.

