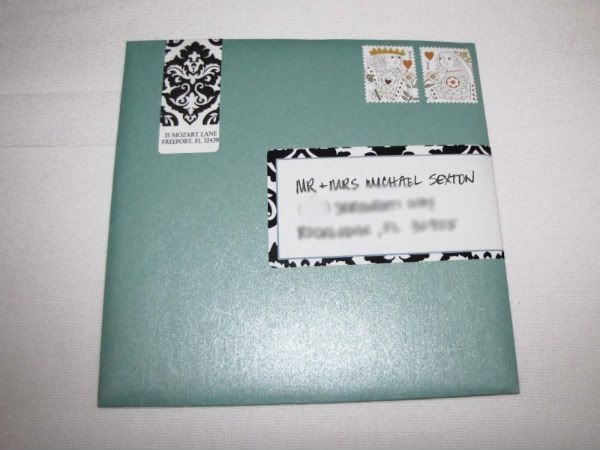
While the wedding and honeymoon are slowly fading to blissful memores, there are still lots of details I haven’t shared. How about the invites for one? They set the tone of the wedding and really are the first impression your friends and family have of the big event. I sent more thought on this than I did on almost anything else. The other choices were no-brainers anyway. Plus, I get really excited about fonts and envelopes and wouldn’t want anyone else to takehe joy of comparing one pocketfold to another in great detail. It’s a little weird, I know. My friend Lauren was so impressed with my handiwork, she asked me to write a little how-to for a local magazine’s wedding edition. Here’s what I did:
Designing your own invitations and printing them on a home computer is one of the easiest ways to save money and keep those big wedding expenses down. Brides can add a more personal touch, incorporating specific colors, styles and textures into the invitations, as well as feel a sense of accomplishment and ownership of the final product. Do-it-yourself girls will love this mini-project which is far from difficult, but if you’re not a DIY bride, you may find that one of your family members or bridesmaids can pitch in to have this done and ready to mail before you know it.
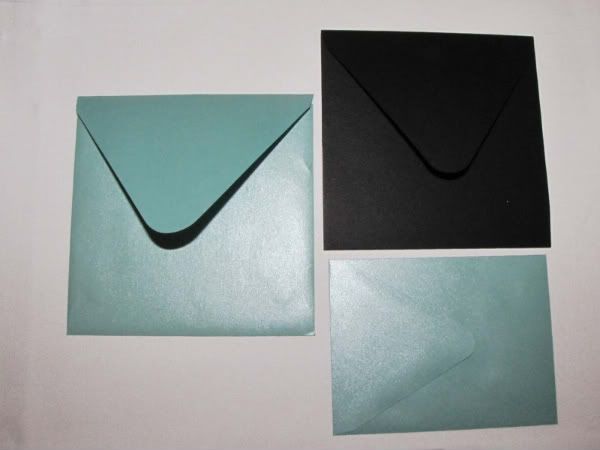
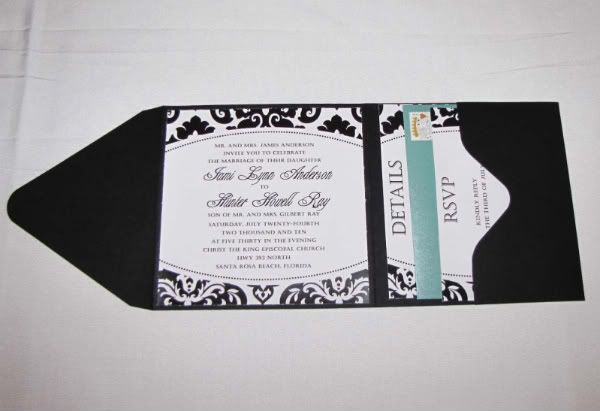
1. Determine what size and style your invitations will be. Options are essentially endless. This style is a pocketfold measuring approximately 6” square when folded. Consider square envelopes require additional postage.
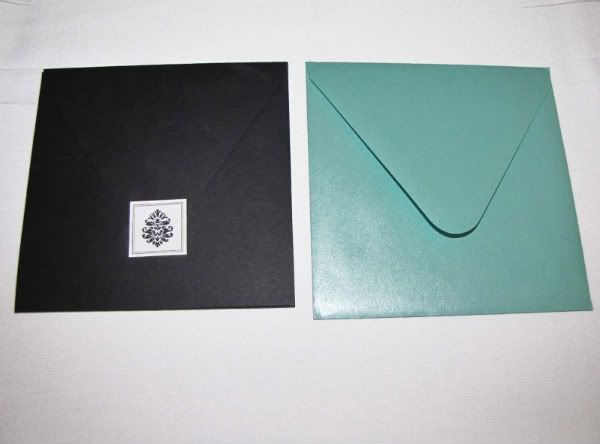
2. Order large envelopes, RSVP envelopes and pocketfolds. The online store where these were purchased (Bella Kai) is no longer in business, however similar products can be found at textstyledesigns.com/envelopes, redcurrant.com and paper-source.com.
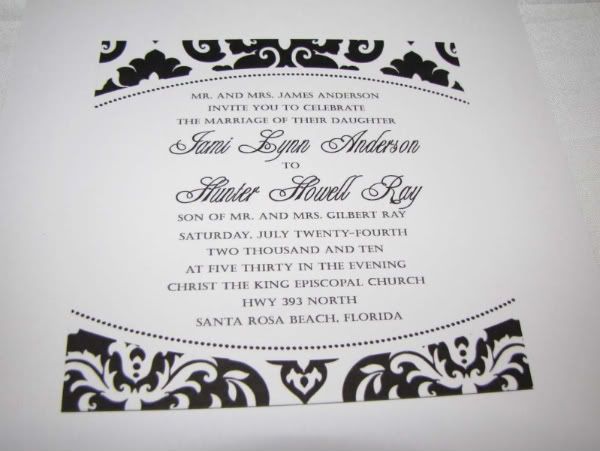
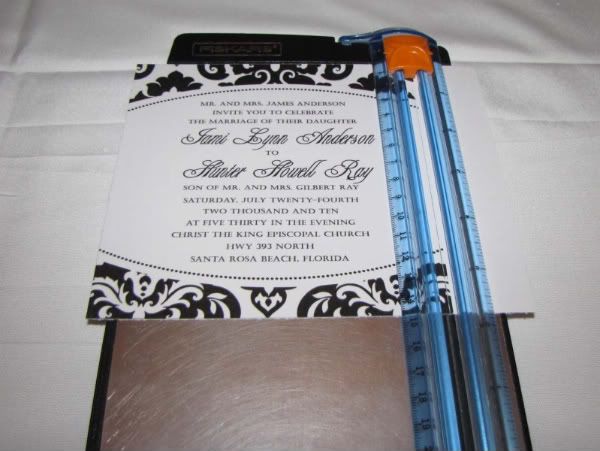
3. Design the main invitation to fit in the middle panel, 5.75” square. To keep with my black and white damask look, I chose to use the print as a border and added a dotted curve for more interest. The script font used is Engaged and the uppercase font is Castellar, which can both be downloaded free. Photoshop or InDesign are both great if you have them, but beginners can get the same result with Microsoft Publisher.
4. Determine the final wording for the invitation. Sites like InvitationConsultants.com can provide specific and appropriate wording, depending on who is inviting or what type of ceremony will take place.
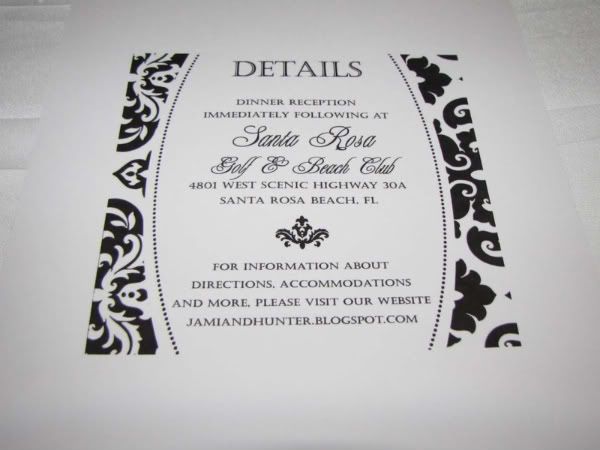
5. Design corresponding Detail cards. This Detail card (measuring 5.5” x 5.75” includes the reception information and wedding website address for specifics on accommodations, wedding party and registry. (Never include registry information directly on the invitation!)
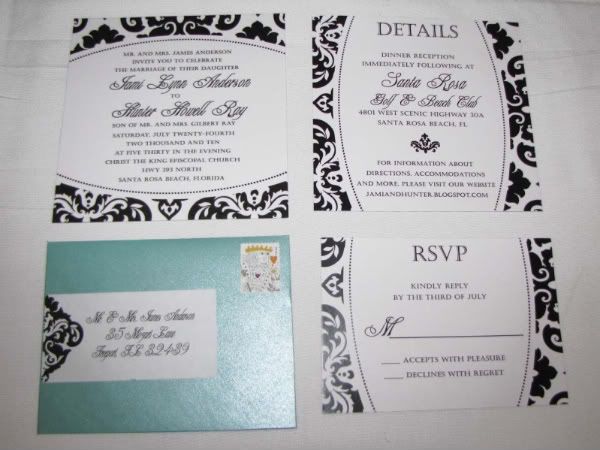
6. Design corresponding RSVP cards. Include a space for guests to write in their name and indicate the number of people attending. (If a specific meal choice is required, include it here). The RSVP card must fit inside the RSVP envelope and measures 4” x 5.7”. To avoid confusion if RSVP cards are returned without names, pencil in a number on the back corresponding to your guest list.
7. Label and post RSVP envelopes. Be sure to include the address RSVPs will be sent to and add postage to the envelope. These .64-cent King and Queen of Hearts stamps can be found at shop.usps.com.
8. Cut out and assemble everything. I highly recommend using a slicing tool (found at any craft store) to ensure clean edges on anything that has to be cut. Glue dots or double sided tape are the fastest way to pin down the corners of the main invite without any mess or dry time.
9. Neatly fold the invitation, adding a sticker or seal to hold closed. Monograms or corresponding graphic elements are popular. These bargain seals were found at Michael’s.
10. Insert into large envelope and seal. Glue sticks are really the most efficient here.
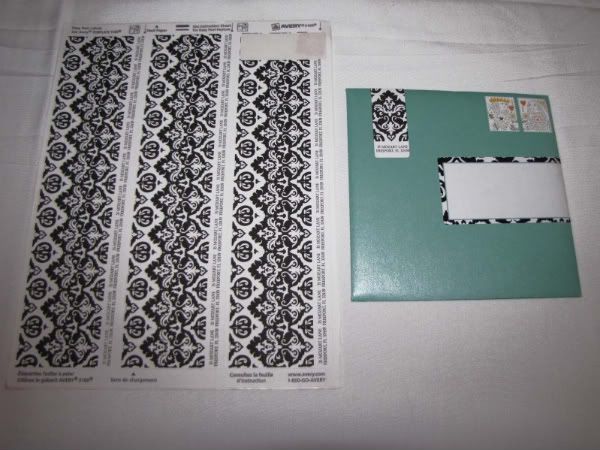
11. Add return address label, address label and postage. I designed and printed the return address label on basic Avery 5160 labels (oriented vertically for more interest) and the address label on basic Avery 5163 labels. Guest names were hand-written and the King and Queen couple was stamped in the top corner. (Before adding postage, take a sample to the post office to be double sure you are posting the correct amount!)
12. Done and Done. Before mailing, review, review, review! Make sure no one on the list has been left out and that everyone is receiving an invitation who should be. When you’re sure the list is covered, drop in the mail and celebrate checking this project off the list!
Total cost for 125 invitations: $510
(Envelopes, paper and supplies $350, Postage $160)
Not too shabby!

